The Ultimate Guide to Chewy Eggless Oatmeal Cookies
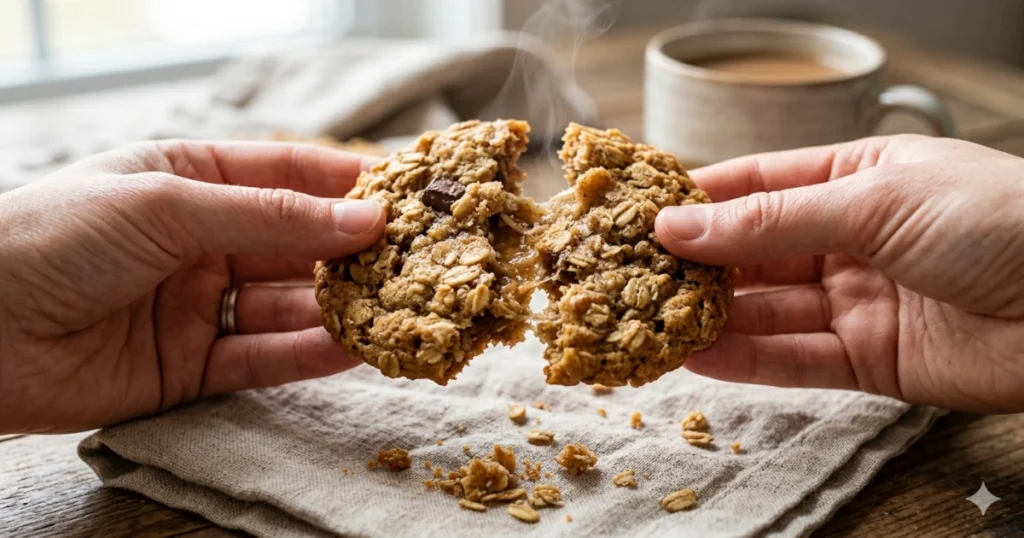
Have you ever been halfway through a baking project only to realize your egg carton is empty? Or perhaps you are baking for someone with a food allergy and need a reliable, delicious alternative? Most people think that without eggs, a cookie will end up crumbly or dry. I am here to tell you that isn’t true. In fact, these Chewy Eggless Oatmeal Cookies might just be better than the original.
These cookies are the perfect balance of crispy edges and a soft, “bendy” center. They aren’t overly sweet, which makes them a great option for school lunches, afternoon snacks, or a little treat with your evening tea.
The Secret to the Perfect Eggless Bind
When you remove an egg from a recipe, you lose two things: moisture and a “glue” that holds the dough together. Many people try to use a “flax egg,” but that can sometimes add a gritty texture.+1
The secret to this recipe is unsweetened applesauce. Applesauce provides the necessary moisture while the pectin in the fruit acts as a natural binder. The result is a cookie that stays soft for days. You won’t taste the apple at all; it simply highlights the buttery, toasted oats.
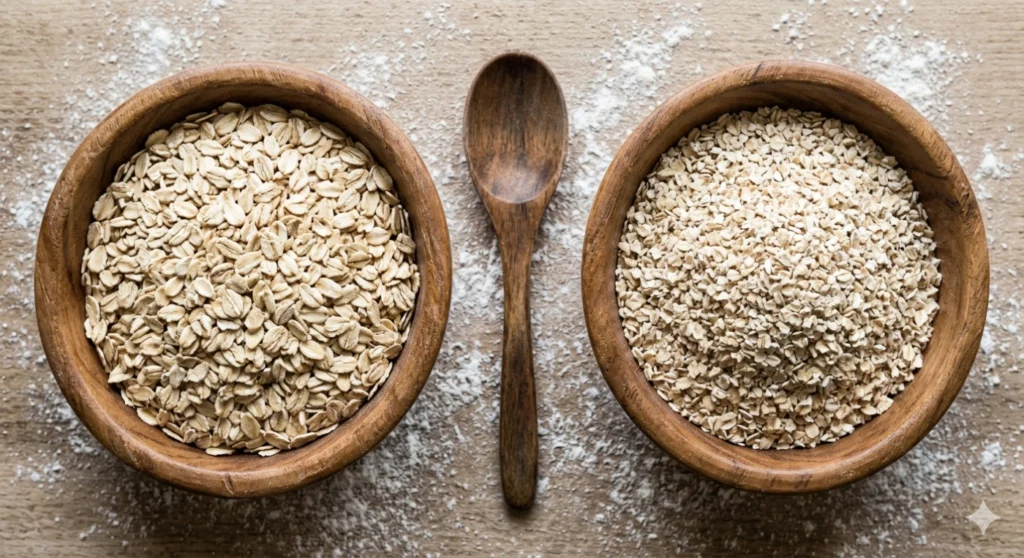
Choosing Your Oats: Quick vs. Old Fashioned
In my years of professional baking, I’ve learned that the type of oat you choose completely changes the cookie.
- Old Fashioned Rolled Oats: These give you a hearty, “chewy” texture. They hold their shape and make the cookie look rustic.
- Quick Oats: These disappear into the dough more. They result in a softer, more uniform cookie.
For this specific recipe, I recommend Old Fashioned oats. They provide that classic “snap” and chew that makes an oatmeal cookie feel authentic.
Ingredients You Will Need
- Butter: Softened to room temperature. This is the foundation of your flavor.
- Brown Sugar & White Sugar: We use a mix. Brown sugar adds moisture and a hint of molasses, while white sugar helps the edges get crispy.
- Unsweetened Applesauce: Our “magic” egg replacement.
- Vanilla Extract: Use a generous teaspoon for that bakery-style aroma.
- All-Purpose Flour: This provides the structure.
- Baking Soda & Salt: Essential for lift and balancing the sweetness.
- Old Fashioned Oats: The star of the show.
Step-by-Step Baking Instructions
1. Cream the Butter and Sugars Preheat your oven to 350°F (175°C). In a large bowl, beat your softened butter with both sugars. You want to beat them until the mixture looks pale and fluffy. This usually takes about 2 to 3 minutes with a hand mixer.
2. Add the “Egg” and Vanilla Stir in your unsweetened applesauce and vanilla extract. At first, the mixture might look a little separated—don’t worry! This is normal when mixing fruit puree with fats. Keep stirring until it is mostly smooth.
3. Combine the Dry Ingredients In a separate bowl, whisk together your flour, baking soda, and salt. Slowly add this to your wet ingredients. Mix until the white streaks of flour just disappear.
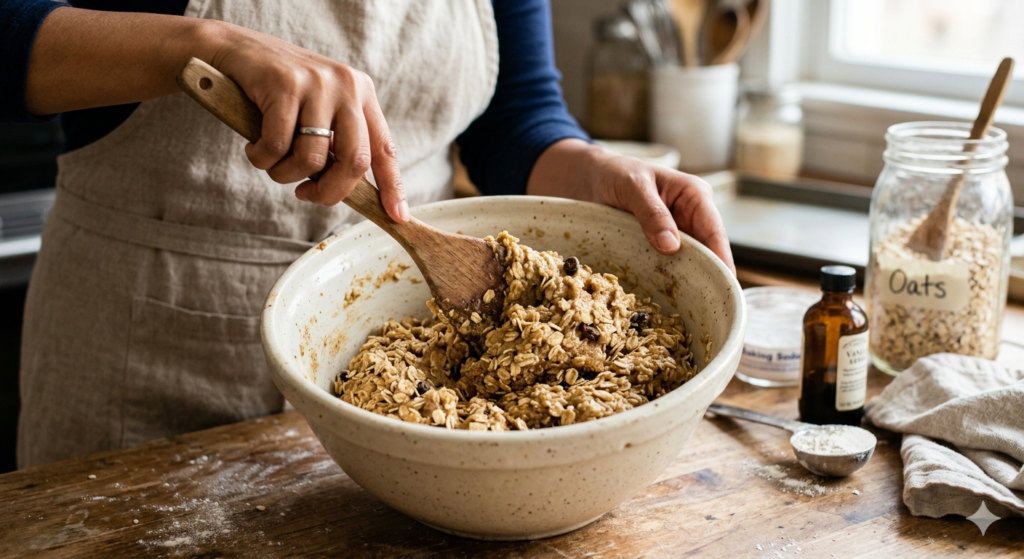
4. Fold in the Oats Add your oats and stir them in by hand. This ensures the oats stay whole and don’t get crushed by a mixer.
IMAGE PROMPT 3: An action shot of a person using a wooden spatula to fold large rolled oats into a thick, buttery cookie dough. The bowl is a cream-colored ceramic, and you can see the specks of cinnamon and the texture of the sugar.
5. Scoop and Bake Line a baking sheet with parchment paper. Scoop about two tablespoons of dough for each cookie. Space them at least two inches apart, as these cookies like to spread a little bit. Bake for 10 to 12 minutes.
6. The “Rest” Period When you take the cookies out, they will look very soft. This is the most important part: let them sit on the hot pan for at least 5 minutes. This allows the bottoms to set and the sugars to caramelize into that perfect chewy edge.
Fun Variations to Try
While these cookies are delicious on their own, they are a great “base” for your favorite mix-ins.
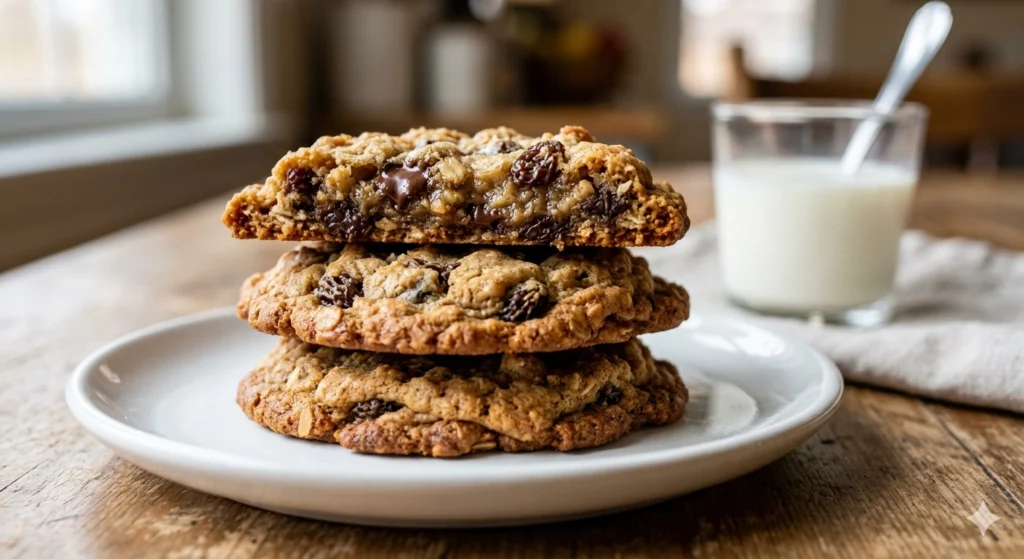
- The Classic: Add 1/2 cup of raisins and a dash of cinnamon.
- The Indulgent: Add 1/2 cup of dark chocolate chips and a sprinkle of sea salt on top.
- The Tropical: Add shredded coconut and dried pineapple bits.
Success Tips for the Best Results
- Room Temp Butter: If your butter is too cold, the sugars won’t dissolve properly. If it’s melted, the cookies will turn into flat pancakes. Aim for butter that indents easily when you press it with your thumb.
- Don’t Over-Bake: An oatmeal cookie is done when the edges are brown but the middle still looks a little “wet.” They will finish cooking on the pan.
- Storage: Store these in an airtight container. If they start to get hard after a few days, put a slice of bread in the container with them. The cookies will absorb the moisture from the bread and stay soft!
Frequently Asked Questions
Can I make these gluten-free?
Yes! Use a 1-to-1 gluten-free flour blend and ensure your oats are certified gluten-free. Because there are no eggs, the structure depends on the flour, so a high-quality blend is important.
Can I use sweetened applesauce?
You can, but you should reduce the white sugar in the recipe by about one tablespoon so the cookies aren’t cloying.
Why did my cookies spread so much?
This usually happens if the dough is too warm. If your kitchen is hot, try chilling the dough balls in the fridge for 15 minutes before putting them in the oven.
Baking without eggs shouldn’t feel like a sacrifice. This recipe proves that with a few simple pantry staples, you can create a treat that everyone will love, regardless of their dietary needs. Enjoy your warm, chewy cookies!