Rice Krispie treats are a universal symbol of nostalgic snacking, but there is a massive difference between a dry, store-bought square and a truly gourmet homemade version. While the classic “back-of-the-box” recipe is a reliable starting point, achieving that perfect balance of a soft, pull-apart texture and deep buttery flavor requires a few professional secrets.
This masterclass article combines traditional techniques with modern gourmet upgrades to help you create the most addictive, chewy, and flavorful treats your kitchen has ever seen.
The Evolution of a Classic: Why “Gourmet” Matters
Most of us grew up with the three-ingredient standard: butter, marshmallows, and crispy rice cereal. However, standard recipes often result in treats that can become hard or lack depth. By introducing “gourmet” elements—specifically more butter, real vanilla extract, and a dual-stage marshmallow process—you transform a simple snack into a world-class dessert.
The Secret Ingredients of a Better Treat
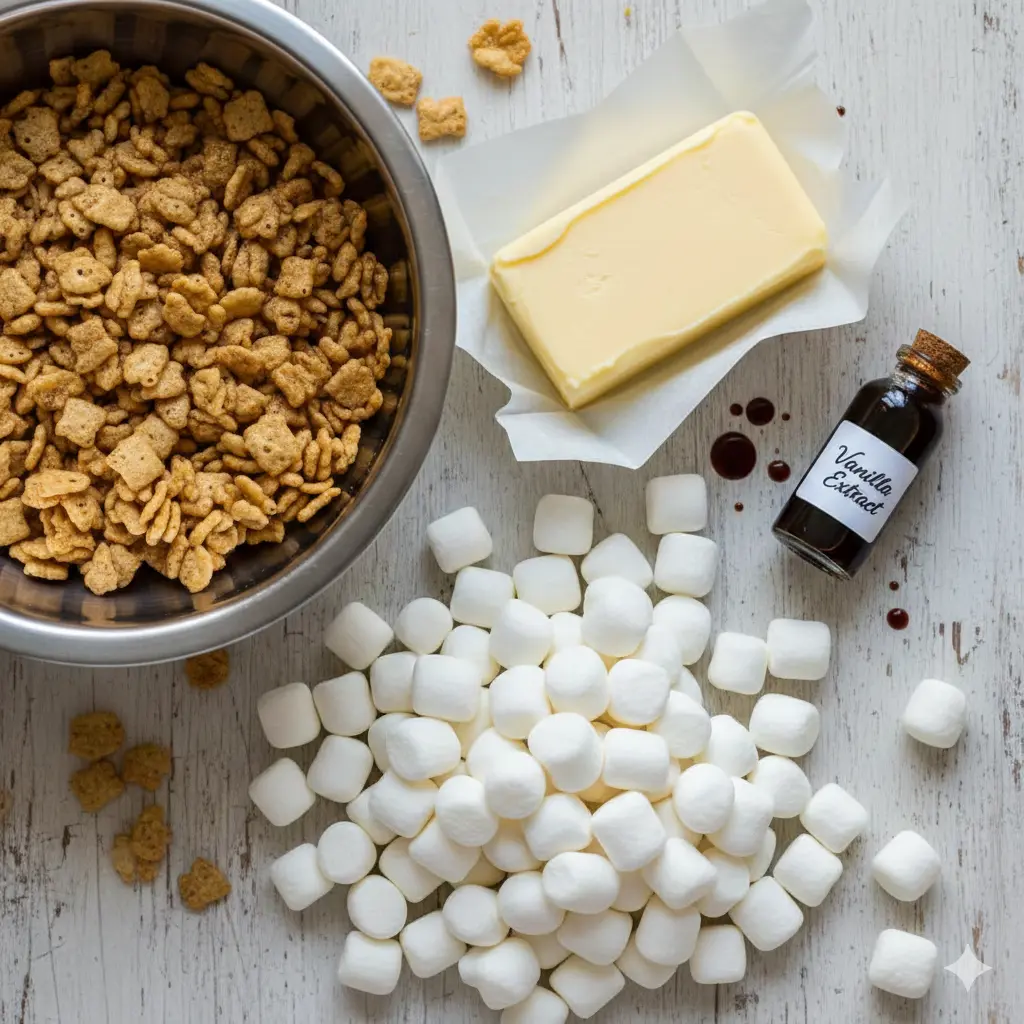
- European-Style Salted Butter: Using butter with a higher butterfat content (like Kerrygold or Plugra) adds a rich, creamy flavor that standard butter can’t match.
- Pure Vanilla Extract: Shockingly absent from the original recipe, vanilla provides a floral background that perfectly balances the sweetness of the marshmallows.
- High-Quality Salt: If you don’t use salted butter, a half-teaspoon of table salt is essential to prevent the treats from being cloyingly sweet.
- Miniature Marshmallows: Small marshmallows melt more evenly and allow you to stir in “pockets” of un-melted marshmallow for a professional finish.
The Master Technique: Step-by-Step Excellence
1. The Low and Slow Melt
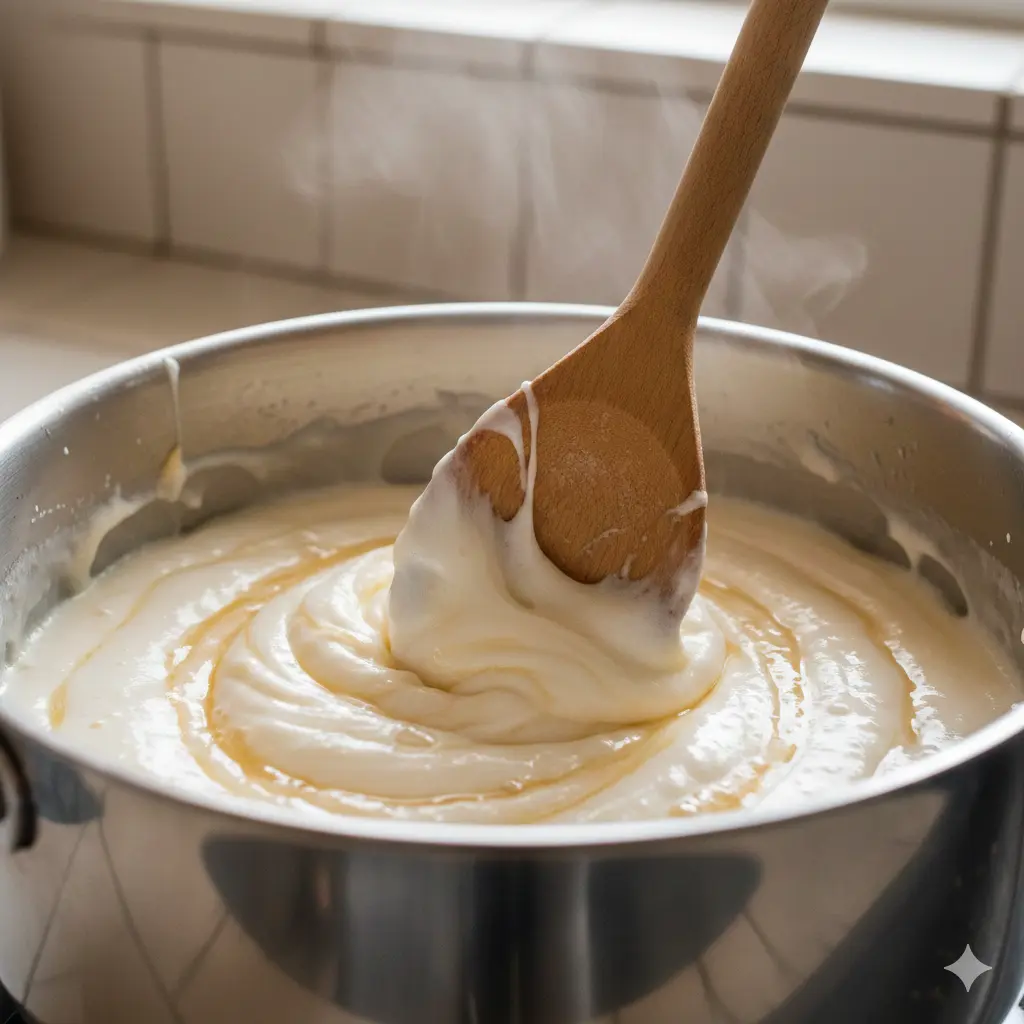
The number one mistake in treat-making is using high heat. High temperatures “shock” the sugar in marshmallows, causing them to turn rock-hard once they cool. Always melt your butter and the first batch of marshmallows over medium-low heat.
2. The Two-Stage Marshmallow Addition
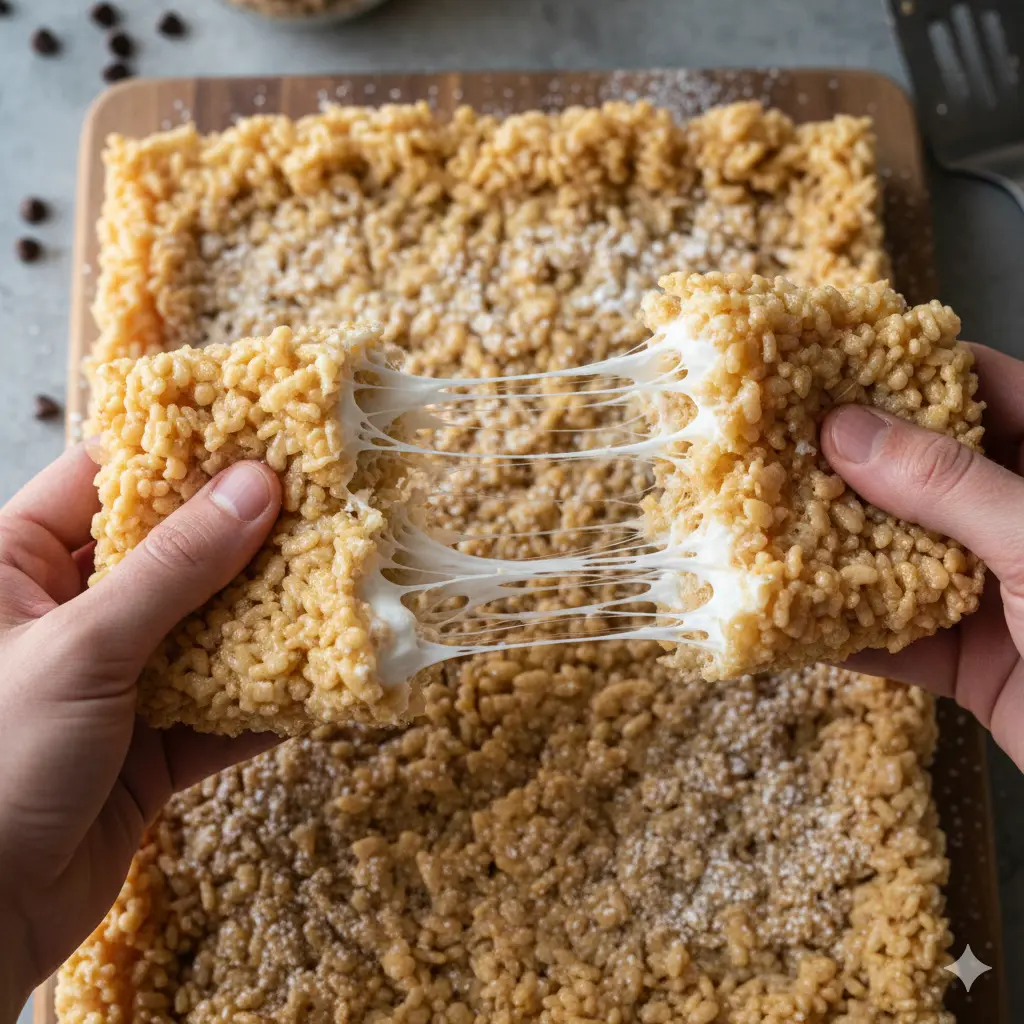
For that legendary “gooey” texture, don’t melt all your marshmallows at once. Melt about two-thirds of them with the butter until smooth. Once you remove the pot from the heat and add the cereal, stir in the remaining third of the marshmallows. These will only partially melt, creating delicious, stretchy marshmallow pockets throughout every bite.
3. The “Gentle Touch” Press
When transferring the mixture to your buttered 9×13-inch pan, never pack it down firmly. Compressing the treats makes them dense and tough. Instead, use a buttered spatula to gently pat them into the corners.
Pro-Tips for Perfect Results Every Time
- Parchment Paper Slings: Line your pan with parchment paper, leaving an overhang on the sides. This allows you to lift the entire block out of the pan for perfectly clean, square cuts.
- Room Temperature is King: Never refrigerate your Rice Krispie treats. The cold air dries them out and ruins the chewy texture. Store them in an airtight container at room temperature for up to 5 days.
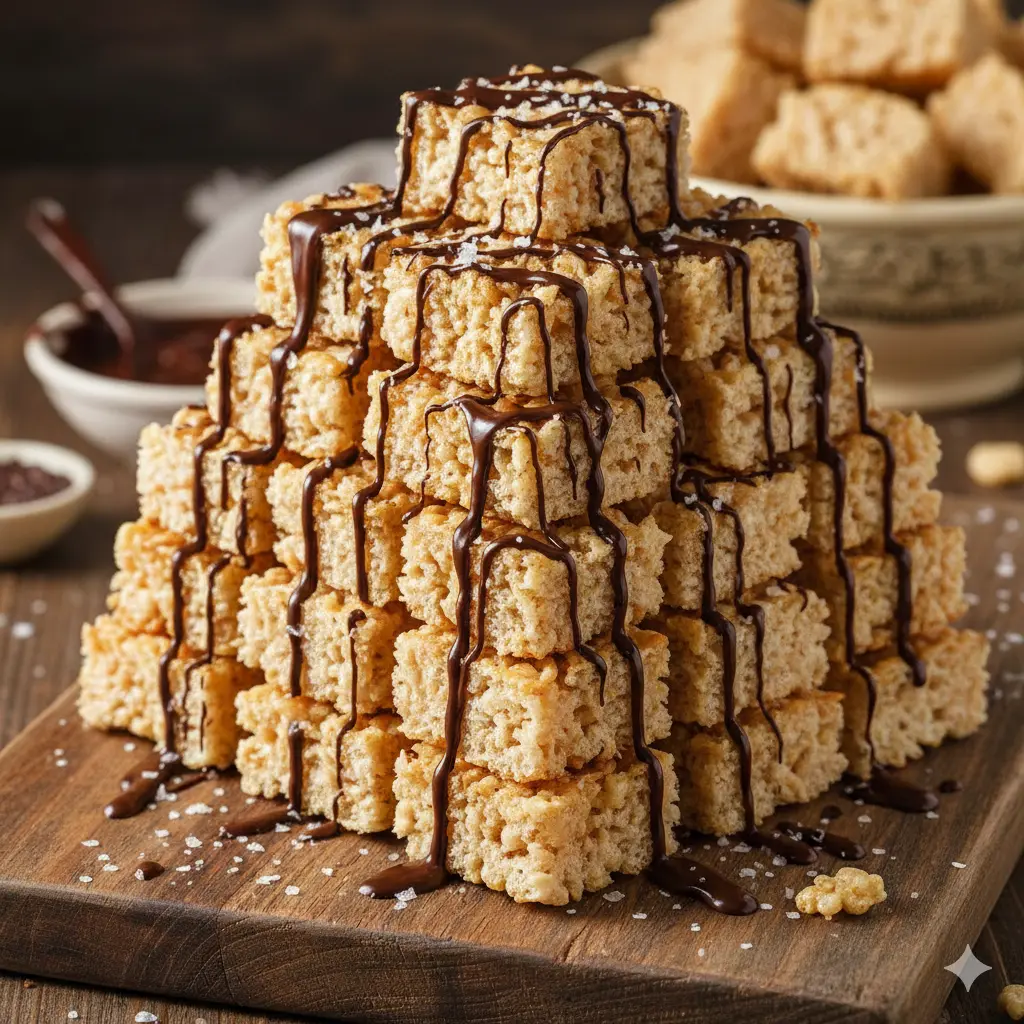
- The Brown Butter Variant: For a deeper, nutty profile, you can brown your butter before adding the marshmallows. This adds a toasted caramel note that pairs beautifully with dark chocolate chips.
Creative Customizations and Add-Ins
Once you’ve mastered the base recipe, the possibilities are endless. You can fold in unique ingredients during the final mixing stage:
- Nutty Crunch: Chopped walnuts or pecans add a sophisticated texture.
- Fruity Twist: Substituting a portion of the rice cereal with Fruity Pebbles adds vibrant color and a punch of citrus flavor.
- Holiday Flare: Stir in festive sprinkles or crushed candy canes for seasonal celebrations.
Troubleshooting Common Issues
“My treats are too hard to bite!”
This usually means the marshmallows were overheated. Next time, keep the burner on the lowest setting and remove the pot the moment the marshmallows have lost their shape.
“The cereal got soggy.”
This happens if the butter and marshmallows aren’t fully emulsified before adding the cereal. Ensure the mixture is a uniform, glossy “sauce” before you pour in the Rice Krispies.